
|
|
Articles
How to Quickly Switch Default Audio Device in Windows
Introduction
Audio systems, monitors with built-in speakers, TVs, headphones - today many of us use all those devices with our computers for a particular purpose: someone is engaged in music making and constantly switch from headphones to monitors, someone connects his/her computer to a projector or a TV located in another room and need to stream sound there, etc. However, the process of switching default audio device is not so simple, and if you do it rather often, you will simply lose more time to perform routine steps.To solve this problem, we in Actual Tools have added Default Audio Device Switcher in our products Actual Multiple Monitors and Actual Window Manager. Using it, you can switch audio devices in one click.
Switch Windows Default Audio Device in One Click
To start using the Default Audio Device Switcher, you simply need to download and install either Actual Multiple Monitors or Actual Window Manager - the function becomes available immediately after installation and work in any version of Windows since Windows Vista.
To access the Default Audio Device Switcher, just press a simple key combination (Win-Ctrl-A by default, can be changed according to your preferences). In the opened menu you only need to sel ect the desired audio device to make it default – either using arrow keys and Enter or simply pressing the device number key.

Default Audio Device Context Menu
Conclusion
As any true professional knows, keeping seconds will save you hours. With this simple tool your work with multiple audio devices will be faster and smoother, making the entire process more efficient.
In addition, in Actual Window Manager and you will find a large number of other helpful tools that facilitate the work with Windows guarding you fr om a mass of many other routine operations.


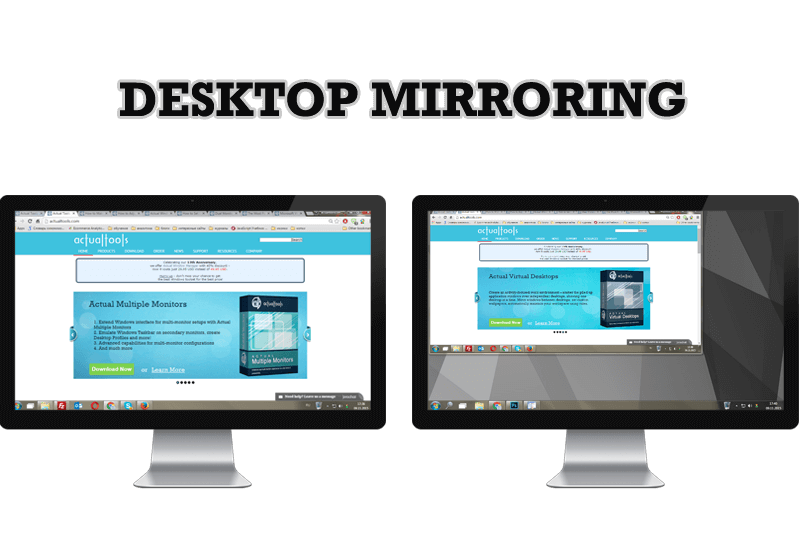
Desktop Mirroring - New Feature of Actual Multiple Monitors 3.1
Know more about new feature of the best multiple monitor software Actual Multiple Monitors 3.1 - Desktop Mirroring.
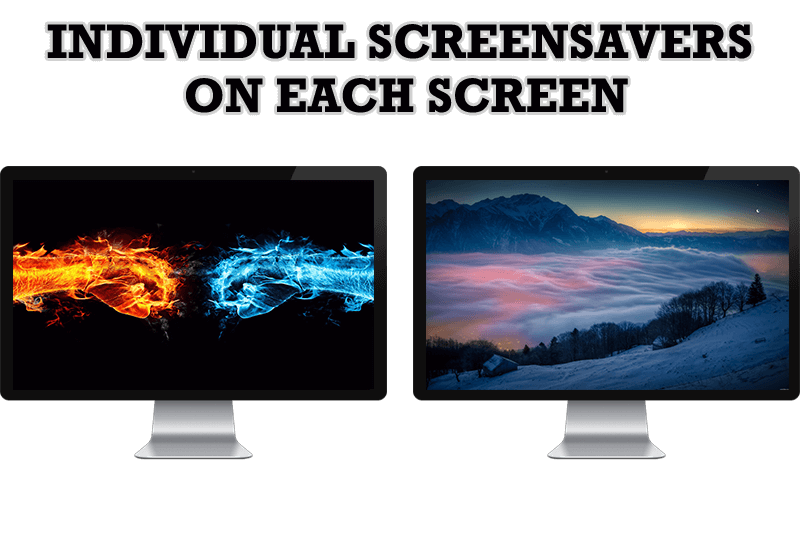
How to Set Up Different Screen Savers on Dual Monitors
If you want to set up different screen saver to each monitor, or one screen saver over entire desktop of your multiple monitor system, just read this little manual.

Get fully functional Recycle Bin on your Taskbar
Lear about how to put a fully functional Recycle Bin on your taskbar
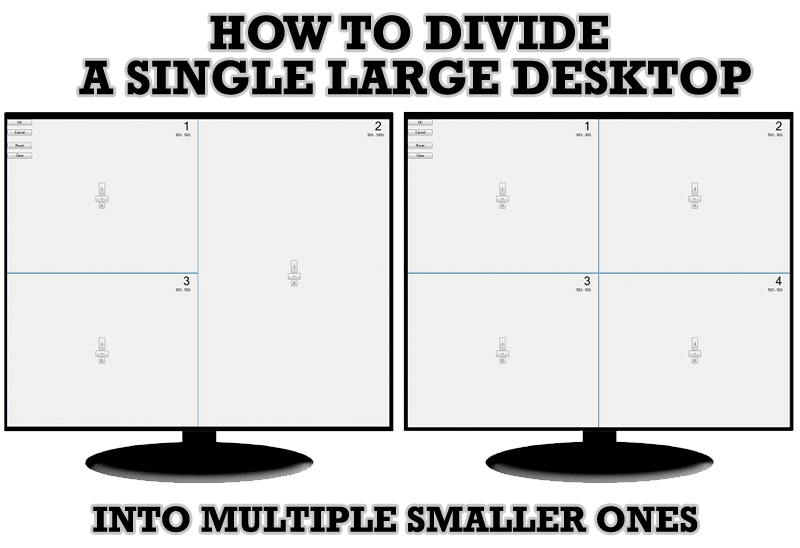
Split the Windows Desktop: How to Divide a Single Large Desktop into Multiple Smaller Ones
Learn how to split the desktop (either single- or multi-monitor) into multiple non-intersecting areas for better windows allocation.

How to improve your work with any Notepad or Notepad replacement
Independently on the fact if you use standard Windows Notepad or some other Notepad replacement programs, you can significantly improve them by adding new functions of our product Actual Title Buttons.
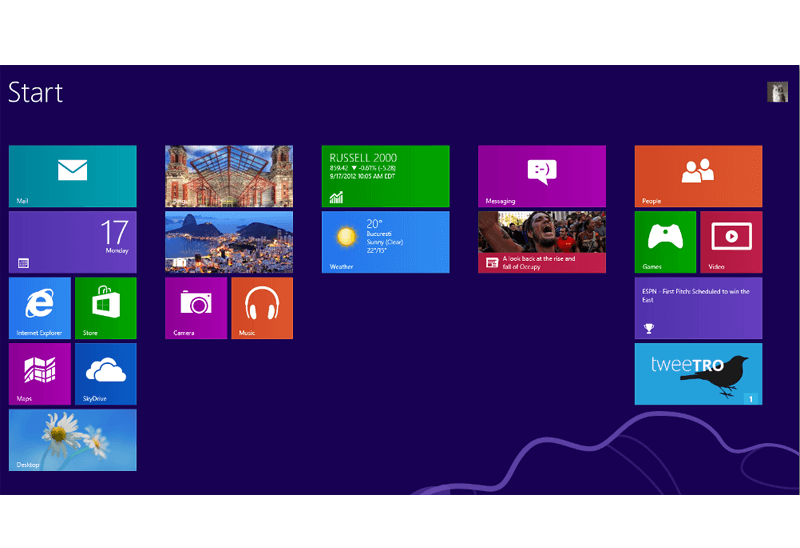
Classic Start Menu or Modified Metro Interface in Windows 8 with Actual Multiple Monitors
New features for improving Windows 8 Metro Start Menu already in Actual Multiple Monitors.
Advanced Display Management of Windows 7 in Actual Multiple Monitors
Now users can use advanced display management (display orientation, clone this monitor, etc.)in Actual Multiple Monitors.
-
Resize windows: Simplify your web construction with Resize Window
The Resize Window control will help you resize any window in a flash: Right click on it and you will access the drop-down list of window sizes including 640x480, 800x600, 1024x768, 100%x100%, 50%x50%, 0%x100%, etc.
How to find a folder to which Skype saves received files and open it in 2 clicks
With the latest updates, Skype no longer prompts the user to save a file somewhere, but immediately saves all files to a specially designated folder, and finding the folder to move files fr om it to another directory, or open them with an application other than that set by default, is sometimes a difficult task.
We are present you the perfect solution to this problem
How to Quickly Switch Default Audio Device in Windows
Learn how to switch default audio device in one click by using Actual Window Manager or Actual Multiple Monitors.
